
MUI Components: Your Complete Guide to Building Modern React UIs
Introduction to MUI Components
Material-UI (MUI) is a popular React UI library that simplifies building responsive and visually appealing web applications. With a rich set of prebuilt MUI components like Autocomplete, Stack, Select, Card, Accordion, Stepper, and Badge, MUI saves development time while ensuring design consistency and responsiveness.
This guide explores how to use and customize these components effectively, with practical examples to help you seamlessly integrate them into your projects. Whether you’re a beginner or an experienced developer, this article will enhance your understanding of MUI and its capabilities.
Prerequisites
Before diving into MUI components, ensure your development environment is ready. This guide assumes you have a basic understanding of React and have already set up a React application. If you’re starting fresh or prefer a faster, lightweight setup, consider using Vite—a modern build tool for front-end projects. For detailed steps on setting up Vite with React, refer to our Beginner’s Guide to Using Vite with React.
Additionally, ensure you have Material-UI (MUI) installed in your project. You can do this by running the following command:
npm install @mui/material @emotion/react @emotion/styled
Once your React application is set up, the next step is integrating MUI
Setting Up the Theme
Material-UI (MUI) provides a powerful theming system that ensures design consistency across all components in your application. A custom theme controls colors, typography, spacing, and more, ensuring alignment with your brand.
Here’s how you can set up a basic theme in MUI:
Import Required Utilities: Use
createThemeto define your custom theme andThemeProviderto apply it globally.Define Your Theme: Specify values for
palette,typography, and other design properties.Wrap Your Application: Use
ThemeProviderto pass the theme to your entire app or specific sections.
Example: Creating and Applying a Custom Theme
import React from 'react';
import { createTheme, ThemeProvider } from '@mui/material/styles';
import { Button } from '@mui/material';

// Define a custom theme
const theme = createTheme({
  palette: {
    primary: {
      main: '#1976d2', // Primary color
    },
    secondary: {
      main: '#dc004e', // Secondary color
    },
  },
  typography: {
    fontFamily: 'Roboto, Arial, sans-serif',
  },
});

function App() {
  return (
    <ThemeProvider theme={theme}>
      <Button variant="contained" color="primary">
        Primary Button
      </Button>
      <Button variant="outlined" color="secondary">
        Secondary Button
      </Button>
    </ThemeProvider>
  );
}

export default App;
Customization Tips:
- Extending the Theme: Add additional design properties, such as spacing or breakpoints, to tailor the theme to your app’s needs.
- Using
sxProp: For quick customizations on a per-component basis, MUI'ssxprop lets you override styles inline while still adhering to the theme.
By setting up a theme, you streamline the design process, maintain consistency, and simplify future updates to your app’s appearance.
Key MUI Components
MUI offers a variety of components to streamline UI development. Below, we explore some of the most commonly used components, their basic usage, and customization options.
1. MUI Autocomplete
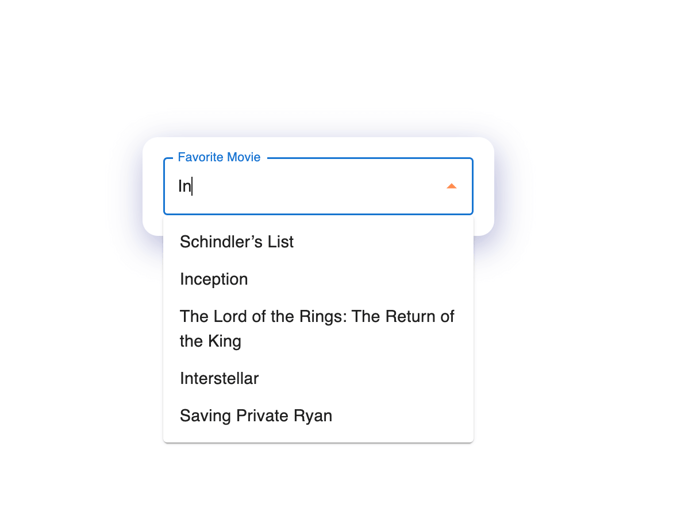
Autocomplete enhances user inputs by providing suggestions from a predefined list.
Basic Example:
import React from 'react';
import { Autocomplete, TextField } from '@mui/material';

const options = ['Option 1', 'Option 2', 'Option 3'];

function AutocompleteExample() {
  return (
    <Autocomplete
      options={options}
      renderInput={(params) => <TextField {...params} label="Select an Option" />}
    />
  );
}

export default AutocompleteExample;
Customization:
- Enable free typing with
freeSolo. - Group options using
groupBy. - Fetch options dynamically for scalability.
 MUI Autocomplete
2. MUI Stack
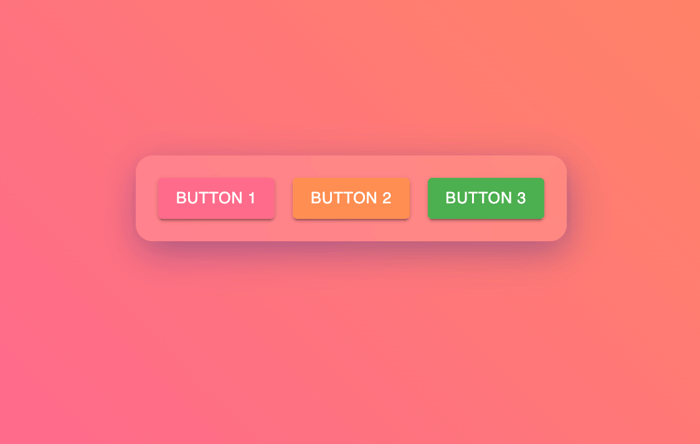
Stack arranges components in a one-dimensional layout (horizontal or vertical).
Basic Example:
import React from 'react';
import { Stack, Button } from '@mui/material';

function StackExample() {
  return (
    <Stack direction="row" spacing={2}>
      <Button variant="contained">Button 1</Button>
      <Button variant="outlined">Button 2</Button>
    </Stack>
  );
}

export default StackExample;
Customization:
- Change direction (
row,column) and spacing. - Use responsive props for dynamic layouts.
 MUI Stack
3. MUI Select
Select is a dropdown component for user choices.
Basic Example:
import React, { useState } from 'react';
import { Select, MenuItem, FormControl, InputLabel } from '@mui/material';

function SelectExample() {
  const [value, setValue] = useState('');

  const handleChange = (event) => setValue(event.target.value);

  return (
    <FormControl fullWidth>
      <InputLabel id="demo-select-label">Choose</InputLabel>
      <Select labelId="demo-select-label" value={value} onChange={handleChange}>
        <MenuItem value={10}>Option 1</MenuItem>
        <MenuItem value={20}>Option 2</MenuItem>
      </Select>
    </FormControl>
  );
}

export default SelectExample;
Customization:
- Enable multiple selections with
multiple. - Render custom items with
renderValue.
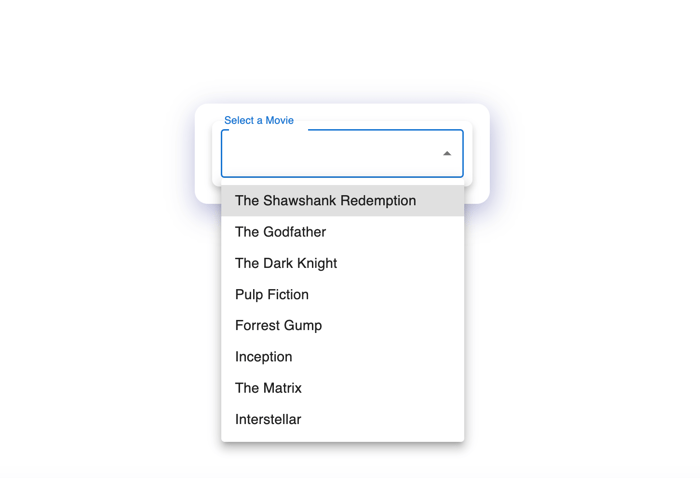 MUI Select
4. MUI Card
Card displays structured content like text, images, and actions.
Basic Example:
import React from 'react';
import { Card, CardContent, Typography } from '@mui/material';

function CardExample() {
  return (
    <Card>
      <CardContent>
        <Typography variant="h5">Card Title</Typography>
        <Typography variant="body2">Card Content</Typography>
      </CardContent>
    </Card>
  );
}

export default CardExample;
Customization:
- Add images using
CardMedia. - Include actions with
CardActions.
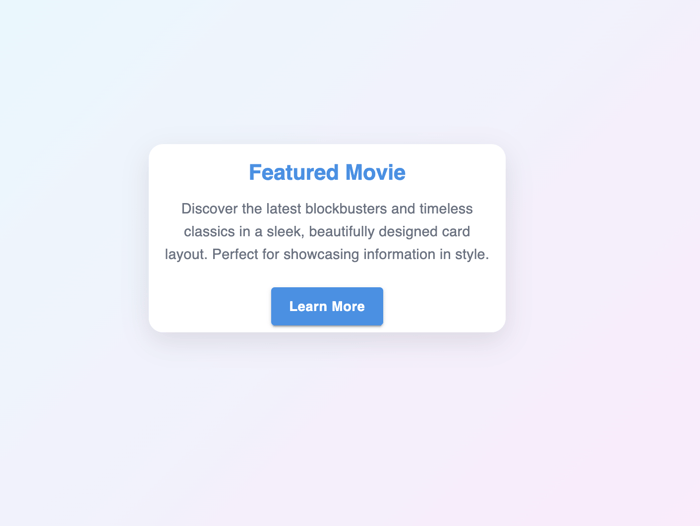 MUI Card
5. MUI Accordion
Accordion is ideal for collapsible sections like FAQs.
Basic Example:
import React from 'react';
import { Accordion, AccordionSummary, AccordionDetails, Typography } from '@mui/material';
import ExpandMoreIcon from '@mui/icons-material/ExpandMore';

function AccordionExample() {
  return (
    <Accordion>
      <AccordionSummary expandIcon={<ExpandMoreIcon />}>
        <Typography>Accordion Title</Typography>
      </AccordionSummary>
      <AccordionDetails>
        <Typography>Accordion Content</Typography>
      </AccordionDetails>
    </Accordion>
  );
}

export default AccordionExample;
Customization:
- Use
expandedandonChangefor controlled states. - Remove padding with
disableGutters.
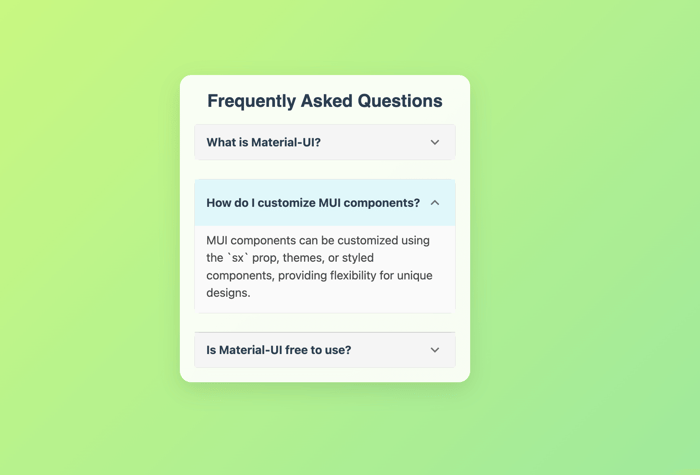 MUI Accordion
6. MUI Stepper
Stepper creates workflows or multi-step processes.
Basic Example:
import React from 'react';
import { Stepper, Step, StepLabel } from '@mui/material';

function StepperExample() {
  return (
    <Stepper activeStep={1}>
      <Step>
        <StepLabel>Step 1</StepLabel>
      </Step>
      <Step>
        <StepLabel>Step 2</StepLabel>
      </Step>
    </Stepper>
  );
}

export default StepperExample;
Customization:
- Add icons to steps.
- Style active or completed steps with
sx.
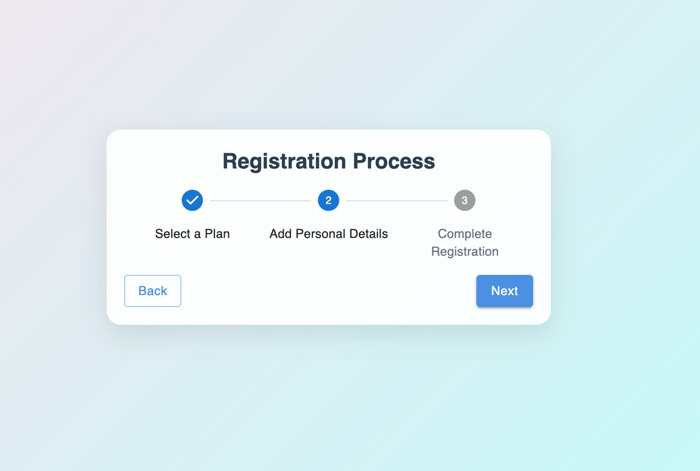 . MUI Stepper
7. MUI Badge
Badge highlights notifications or counts, usually on icons.
Basic Example:
import React from 'react';
import { Badge } from '@mui/material';
import MailIcon from '@mui/icons-material/Mail';

function BadgeExample() {
  return (
    <Badge badgeContent={4} color="primary">
      <MailIcon />
    </Badge>
  );
}

export default BadgeExample;
Customization:
- Change badge position and color.
- Use
maxto set a cap on large numbers.
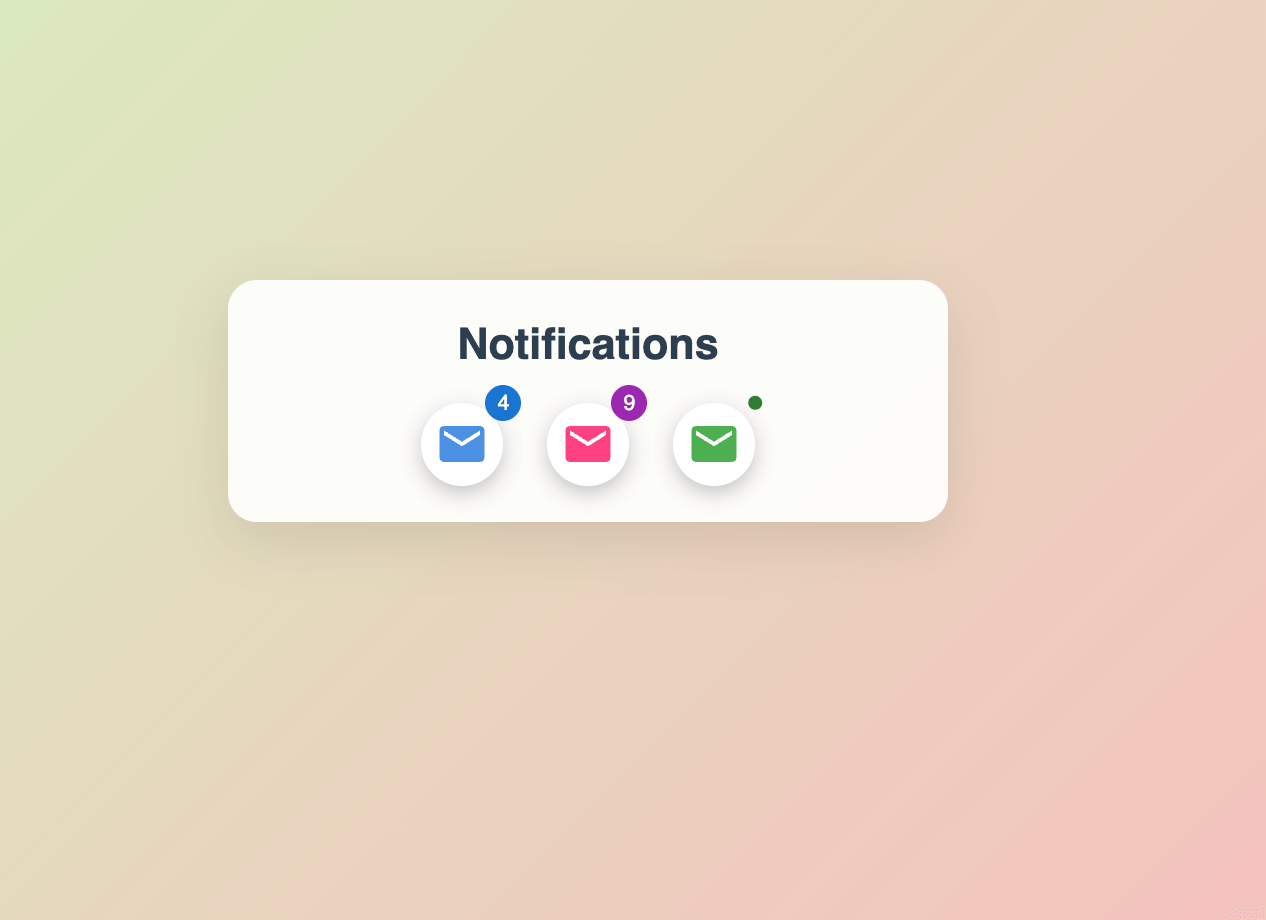
MUI Badge
These key MUI components provide a foundation for creating intuitive and responsive interfaces. With customization options and practical examples, you can easily adapt them to fit your project’s needs.
Best Practices for Using MUI Components
To maximize the efficiency and maintainability of your projects with Material-UI (MUI), consider the following best practices:
1. Leverage the Theme for Consistency
- Why: Using MUI’s theming system ensures uniformity in design, reducing redundant styling and improving maintainability.
- How: Define a custom theme with
createThemeand apply it globally withThemeProvider. This ensures colors, typography, and spacing are consistent across all components. - Example: Use the theme to adjust
primaryandsecondarycolors or typography styles across your application.
2. Use the sx Prop for Quick Customization
- Why: The
sxprop provides a concise way to apply styles directly to components without external CSS files. - How: Pass style objects or theme-based values to the
sxprop for flexible, inline styling. - Example:
<Button sx={{ bgcolor: 'primary.main', '&:hover': { bgcolor: 'primary.dark' } }}>
  Styled Button
</Button>
3. Optimize Performance with Lazy Loading
- Why: Lazy loading reduces the initial load time by only rendering components when needed.
- How: Use React’s
lazy()andSuspenseto load MUI components on demand. - Example:
const LazyCard = React.lazy(() => import('./CardComponent'));

<Suspense fallback={<div>Loading...</div>}>
  <LazyCard />
</Suspense>
4. Prefer Responsive Design with Breakpoints
- Why: Responsive components ensure a seamless user experience across devices.
- How: Use the
Gridsystem orsxprop with responsive values for breakpoints likexs,sm,md, etc. - Example:
<Grid container spacing={2}>
  <Grid item xs={12} sm={6}>
    <Card />
  </Grid>
</Grid>
5. Avoid Overuse of Inline Styles
- Why: While the
sxprop is powerful, excessive inline styles can clutter code and reduce readability. - How: Use the
makeStylesorstyledAPI for reusable and organized styling.
6. Explore Component APIs for Advanced Features
- Why: MUI components offer extensive APIs that enable advanced customizations.
- How: Regularly consult the MUI documentation to leverage props like
MenuPropsinSelectorrenderInputinAutocompletefor specific needs.
7. Ensure Accessibility (A11y)
- Why: Accessibility ensures your application is usable for all users, including those with disabilities.
- How: Use semantic HTML and accessibility props like
aria-*attributes. For example, addaria-expandedtoAccordionoraria-labelledbyfor dialog elements.
8. Test Component Performance in Production
- Why: Certain MUI components can have a significant impact on performance, especially in large applications.
- How: Use tools like React DevTools and Lighthouse to analyze performance and identify bottlenecks.
9. Stay Updated with MUI Documentation
- Why: MUI is actively maintained, with new features and improvements being introduced regularly.
- How: Regularly check the official documentation for updates, best practices, and new releases.
10. Reuse Components for Scalability
- Why: Reusing components reduces development effort and ensures consistency.
- How: Abstract common UI patterns into reusable components (e.g., buttons, forms, cards) to avoid repetitive code.
By following these best practices, you can build efficient, scalable, and maintainable applications while harnessing the full potential of MUI.
Conclusion
Material-UI (MUI) components simplify the process of building responsive, modern web applications and powerful theming system. By following the best practices outlined in this guide, you can create consistent, accessible, and highly customizable interfaces that enhance user experience. Whether you’re a beginner or an experienced developer, MUI provides the tools to elevate your React projects efficiently.
Related articles

Development using CodeParrot AI

