

Converting Figma to Flutter: Design to Code
Having a great website for your business is crucial, and a better UI can significantly impact conversion rates. Research shows that improved UI/UX can lead to higher conversion rates of up to 200%. In the competitive world of mobile app development, rapid design-to-code conversion is becoming increasingly essential. Manual design-to-code conversion can be time-consuming and prone to errors, so leveraging modern tools to streamline this process is crucial.
Understanding Figma
Figma is a powerful web-based vector graphics editor and prototyping tool widely used for UI/UX design. It allows designers to create complex designs and prototypes with ease.
Its features include:
- Real-Time Collaboration: Multiple team members can work on the same design simultaneously, making collaboration seamless.
- Component and Style Reuse: Figma supports reusable components and styles, ensuring consistency across the design.
- Version Control: Designers can track changes and revert to previous versions if needed.
- Export Capabilities: Easily export assets and design elements for use in development.
Figma is commonly used for designing and wireframing both web and mobile applications, making it a versatile tool in the design phase.
Understanding Flutter
Flutter is an open-source UI toolkit developed by Google. It enables developers to build natively compiled applications for mobile, web, and desktop from a single codebase.
Features of Flutter include:
- Single Codebase for Multiple Platforms: Write once, run anywhere, reducing development time and effort.
- Rich Set of Widgets: Provides a comprehensive set of customizable widgets for building complex UIs.
- Hot Reload: Allows developers to see changes in real-time without restarting the application.
Many popular applications, such as Google Ads, Alibaba, and Reflectly, have been built using Flutter, showcasing its versatility and robustness.
Step-by-Step Guide to Converting Figma Designs to Flutter Code
Choosing the right tools and following a systematic approach can simplify the figma to flutter code conversion process.
Step 1: Choose Your Conversion Tool
Several tools can help convert Figma designs to Flutter code, including CodeParrot.ai, the Figma to Flutter Plugin, and FlutterFlow. Each tool has unique features and capabilities, making it essential to choose the right one based on your project requirements and team workflow.
Step 2: Initial Setup
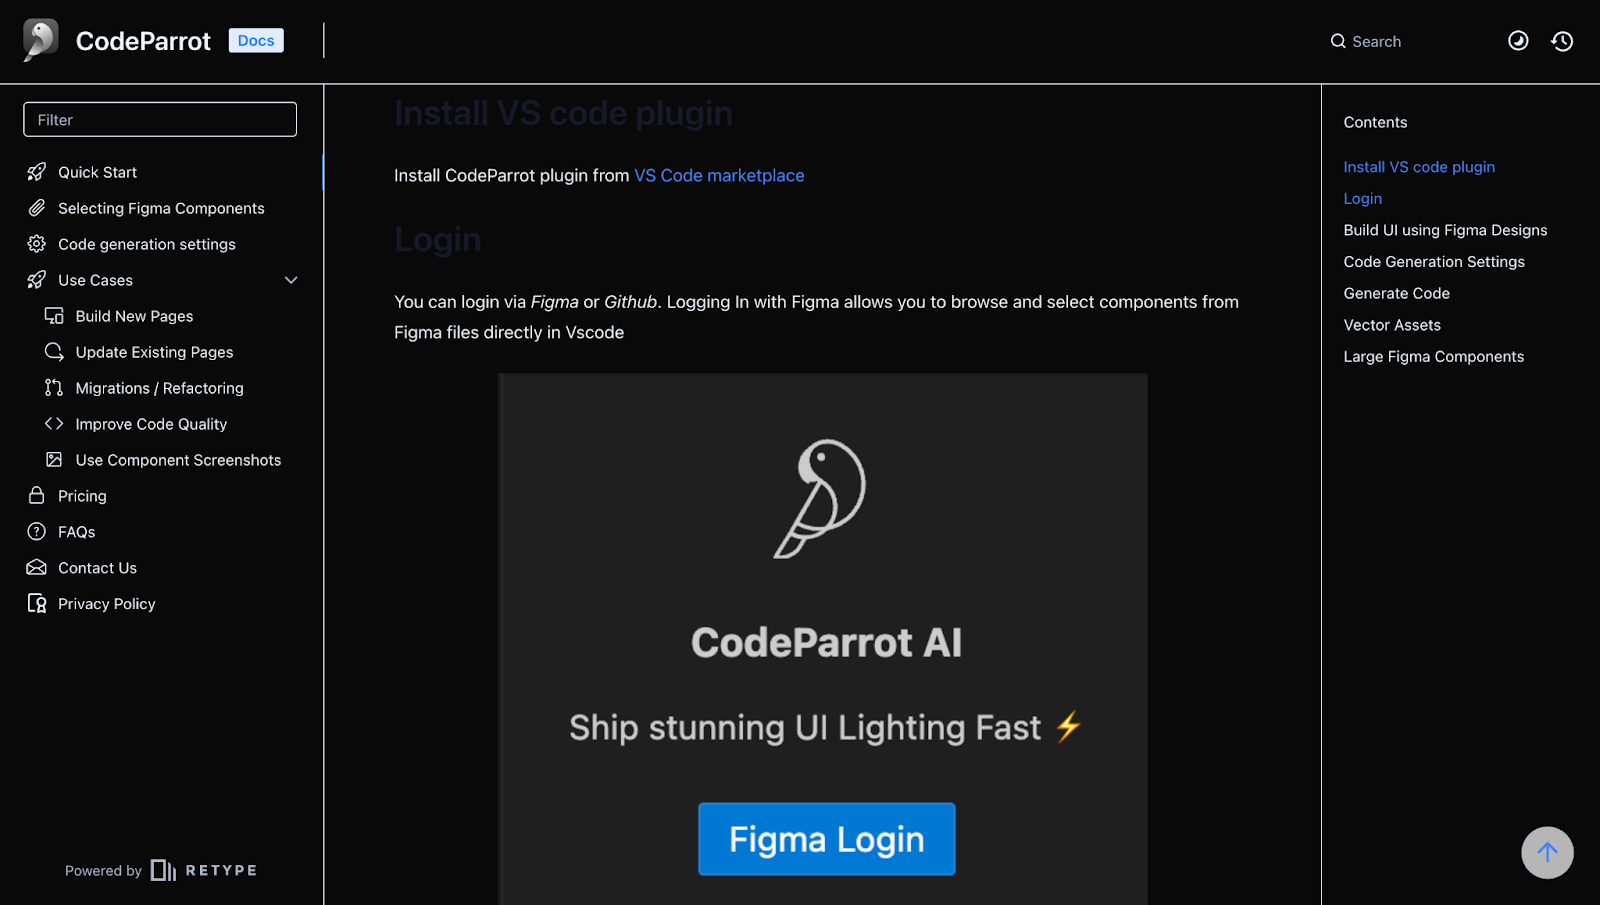
Start by creating an account on your chosen tool, such as CodeParrot.ai. This process typically involves providing basic information and verifying your email.
Set up a new project within the tool, entering core details like project name, platform, and any specific settings relevant to your design.
Step 3: Importing and Configuring Designs
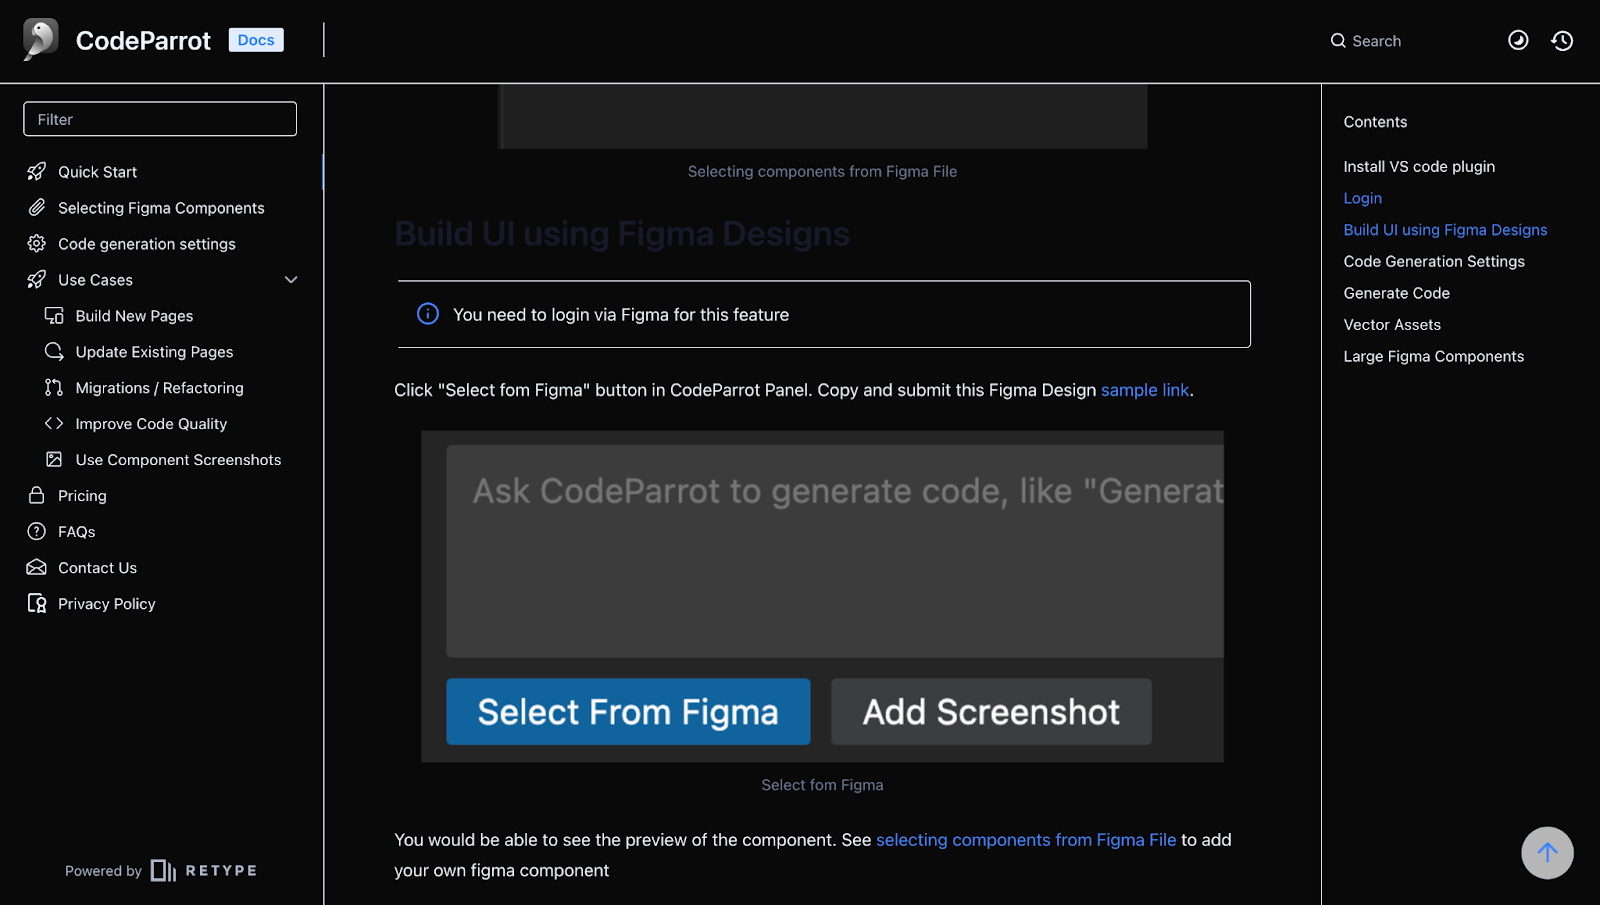
Upload your Figma design files to the chosen tool. This step involves selecting the appropriate design screens and ensuring all elements are correctly imported. Configure the imported design screens within the tool, making necessary adjustments to align with your project’s requirements.
Step 4: Customizing Screens
Customize the UI elements and set up actions within the tool. Ensure that all interactive elements are correctly configured to provide a seamless user experience. Regularly sync your design changes to maintain fidelity between the original design and the converted code.
Step 5: API Integration
Integrate your application with server APIs to enable dynamic data handling. Tools like Postman or Swagger can simplify this process.
Leverage the built-in features of your chosen tool to facilitate easy API integration, ensuring your app can communicate with backend services.
Step 6: Exporting the Flutter Code
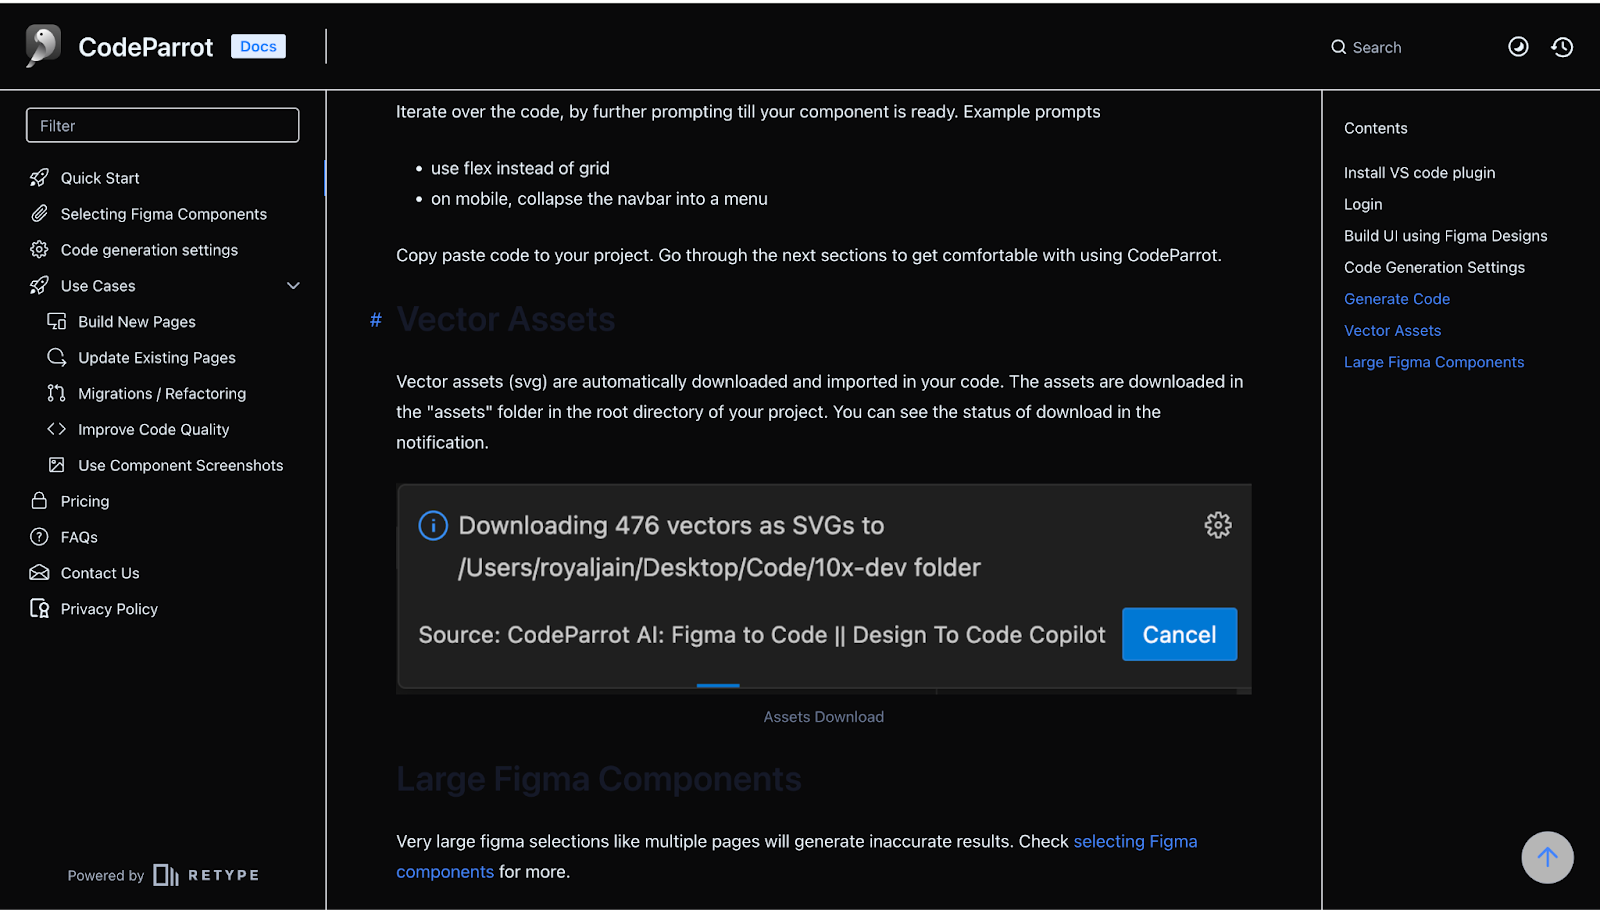
Once all configurations and customizations are complete, generate the final Flutter code. This step involves compiling all design elements and interactions into a functional codebase. Export the generated code and sync it with your version control system or repository. Many tools offer integrations with popular IDEs like Visual Studio Code for further development.
Explore available IDE extensions to enhance your development workflow. These extensions can provide additional functionalities and streamline the coding process.
Step 7: Preview and Testing
Use the tool’s preview feature to see how the generated code performs within the app. This step allows you to identify and fix any issues early in the process.
Conduct thorough testing on different devices to ensure the app functions correctly across various platforms. This step is crucial for identifying and resolving any compatibility issues.
Additional Best Practices
To ensure that the best practices are followed:
- Maintain cohesive design elements across the app to ensure a uniform user experience.
- Ensure the app is accessible to users with disabilities by following accessibility guidelines.
- Conduct thorough testing across various devices and scenarios to ensure the app is robust and reliable.
These steps are crucial for identifying and resolving any compatibility issues.
Conclusion
Using modern design-to-code tools like CodeParrot.ai, Figma to Flutter Plugin, and FlutterFlow can significantly enhance your development process. These tools help streamline workflows, maintain design fidelity, and reduce manual coding efforts. Stay updated with the latest features and improvements in these tools to continually enhance your app development process. Embrace these innovations to transform your Figma designs into functional Flutter code efficiently and effectively.
Try CodeParrot.ai today to revolutionize your figma design to flutter code workflow!
Related articles


Development using CodeParrot AI

