#
Quick Start
Speed up UI Development using CodeParrot AI.
#
Install VS code plugin
Install CodeParrot plugin from VS Code marketplace
#
Login
You can login via Figma or Github. Logging In with Figma allows you to browse and select components from Figma files directly in Vscode

#
Build UI using Figma Designs
You need to login via Figma for this feature
Click "Select fom Figma" button in CodeParrot Panel. Copy and submit this Figma Design sample link. This button is enabled only at the start of the chat session, start a new session for new design.

You would be able to see the preview of the component. See selecting components from Figma File to add your own figma component
#
Code Generation Settings
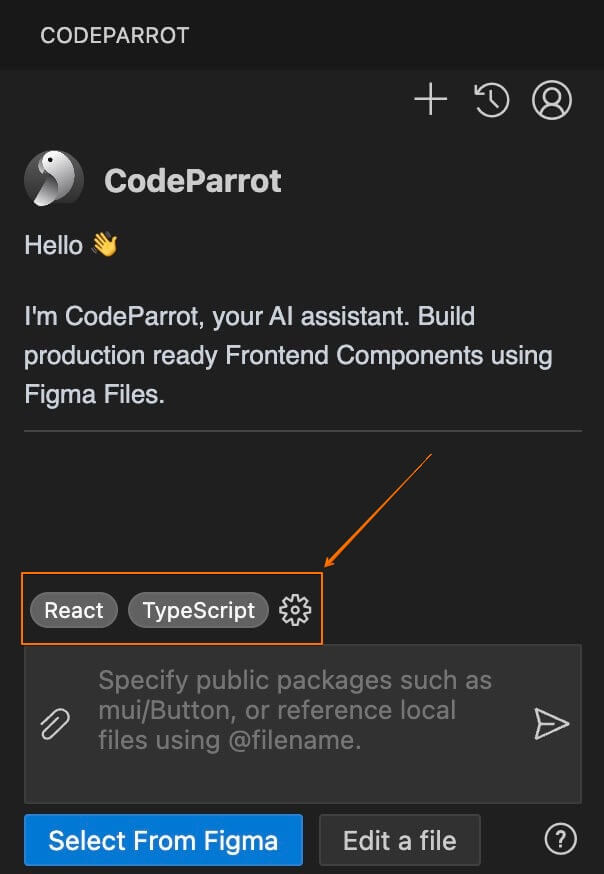
Click on the settings icon to choose the Framework.

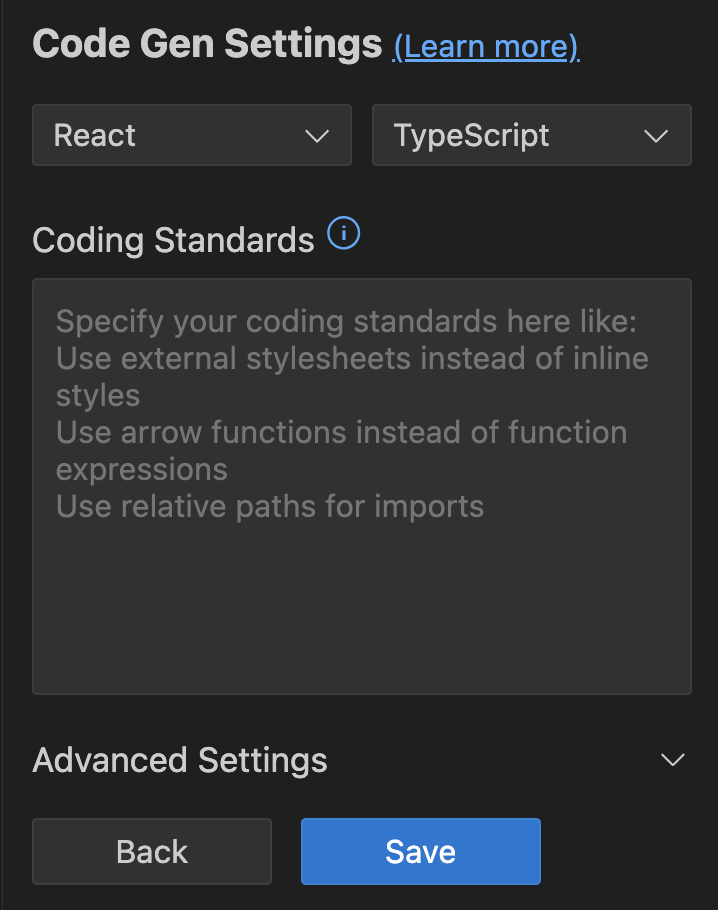
For now, just choose your framework like React / React Native / Flutter etc and language. Save the settings. Checkout Code Generation Settings later for details on how to generate better results using additional settings.

#
Reuse Components
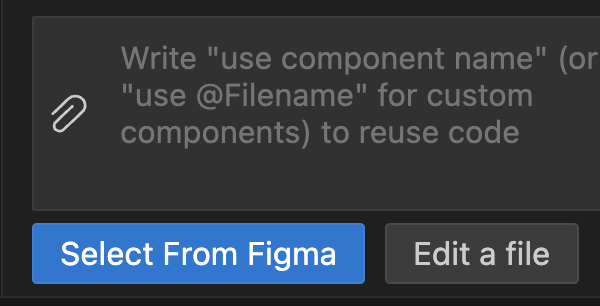
To reuse existing components or styling classes, write "Use Component Name" like "Use MUI table". For custom components or style files write "Use @filename"

#
Generate Code
You would be able to preview the component in CodeParrot Panel. Click on Send icon to start generating code.

Iterate over the code, by further prompting till your component is ready. Copy paste code to your project.
#
Images and Vector Assets
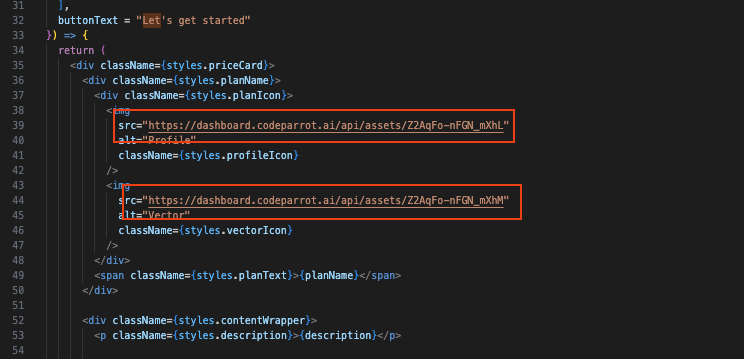
Images and vector assets are not downloaded automatically. It points to a placeholder URL, based on your figma design. Don't forget to set it to the correct based on your code!

#
Large Figma Components
Very large figma selections or screens with multiple folds will throw an error. Check selecting Figma components for more.